Buying a used VR headset can be a smart and cost-effective way to enter virtual reality, often saving 30-50% off the retail price of new units. However, it requires careful inspection to avoid common issues like lens damage, stick drift, or sun-damaged displays. This guide provides a detailed checklist to ensure a safe and satisfactory purchase, helping buyers navigate the second-hand market effectively.
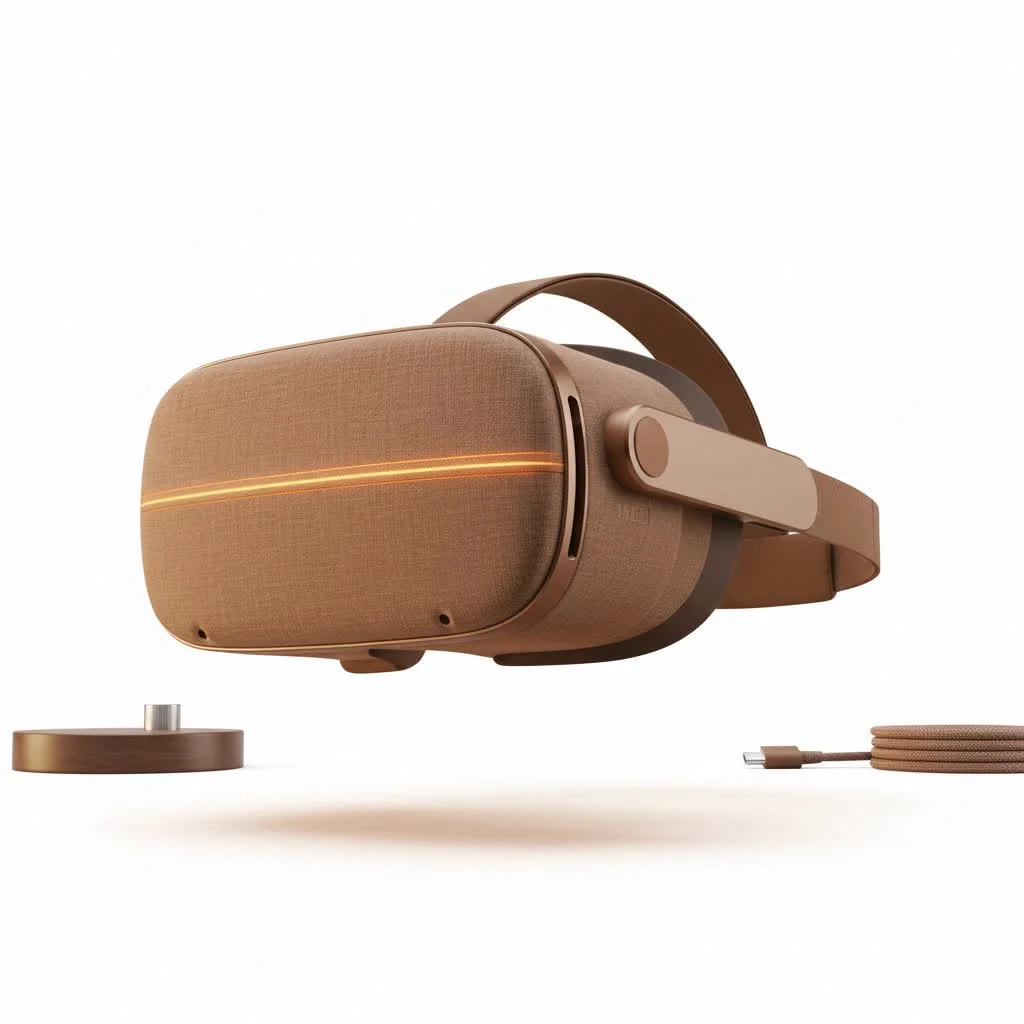
Is Buying a Used VR Headset a Good Idea?
For many, purchasing a used VR headset is a resounding yes, primarily due to the significant price reduction. You can often acquire a capable, modern headset like a Meta Quest 2 for substantially less than its retail price, freeing up funds for games and accessories. However, this path comes with the absence of manufacturer warranties, the potential for hidden damage, and hygiene considerations. For browse all virtual reality articles on this site.
“A used VR headset is like any high-performance piece of equipment,” notes Dr. Alistair Finch, a pioneer in VR hardware longevity. “It can offer incredible value if you know how to inspect it properly. The lenses and controllers have lived a whole life before you, and they have stories to tell. Your job is to listen to them.”
Consider it a trade-off: you sacrifice the security and pristine condition of a new product for a much lower entry fee. If you are diligent in your inspection, the savings can be well worth the effort.
What to Check Before Buying: A Detailed Checklist
Never purchase a used VR headset sight unseen unless it originates from a reputable refurbisher offering a return policy. If you are meeting a seller from an online marketplace, always insist on testing the device in person. Here is your essential step-by-step inspection guide.
1. The Lenses: Your Window to the Virtual World
The lenses are the most critical and fragile component of any VR headset. Any damage here can severely degrade or completely ruin the virtual reality experience.
- Scratches: Use a small flashlight (your phone’s light is sufficient) and shine it at an angle across the lenses. Look for any scratches, ranging from hairline marks to deep gouges. Minor scuffs on the very edge might be acceptable, but any damage within your direct line of sight is a deal-breaker.
- Sun Damage: This is a common and often irreversible issue for VR displays. If the lenses are exposed to direct sunlight, even briefly, the light can magnify and permanently burn the internal displays. To check for this, power on the headset and look for any discolored spots, such as white or orange stains, visible on the screen against a bright, uniform background.
2. The Display: Pixels and Clarity
|
Our Picks for the Best VR Headset in 2026
As an Amazon Associate I earn from qualifying purchases.
|
||
| Num | Product | Action |
|---|---|---|
| 1 | Oculus Quest 2 VR Headset 128GB Holiday Set - Advanced All-in-One Virtual Reality Headset Cover Set, White |

|
| 2 | FEEBZ 3D VR Headset for Kids 2.0 + Android Remote - for iPhone & Android Phones - with 3D VR Videos & Apps Links - Virtual Reality Goggles Set for Beginners |
|
| 3 | VR Headset for Nintendo Switch 2 (2025), Switch 2 Virtual Reality VR Glasses with Adjustable HD Lenses and Comfortable Head Strap, Labo VR Kit 3D Goggles for Switch 2 Accessories, White&Blue |
|
| 4 | FEEBZ 3D VR Headset for Kids 2.0 + Android Remote - for iPhone & Android Phones - with 3D VR Videos & Apps Links - Virtual Reality Goggles Set for Beginners |
|
| 5 | DESTEK V5 VR Headset for Kids w/VR Gamepad, 128 Premium VR apps Included, Anti-Blue Eyes Protected HD Lenses, 110° FOV Virtual Reality Headsets for iPhone, Android Phone- Black |
|
| 6 | VR Headset for Phone, Virtual Reality Glasses with Bluetooth Headphones for Adults and Kids Play 3D VR Games Movies (White VR Only) |
|
| 7 | Meta Quest 2 — Advanced All-In-One Virtual Reality Headset — 256 GB (Renewed) |
|
| 8 | Oculus Quest 2 Advanced All-in-One Virtual Reality Gmaing VR Headset 128GB Set, White |
|
| 9 | PlayStation VR2 (PSVR2) |
|
| 10 | PlayStation VR2 Horizon Call of The Mountain™ Bundle (PSVR2) |
|
After inspecting the lenses externally, you must examine the display through them.
- Power It On: First and foremost, ensure the headset powers on without any issues.
- Dead Pixels: Open a menu or an environment with a solid, bright color (like the default white home screen). Carefully examine the entire display in both eyes for tiny black, white, or colored dots that do not change. These are dead pixels; while one or two might be negligible, a cluster can be very distracting.
3. The Controllers: Your Hands in VR
Controllers often endure significant wear and tear during intense gameplay. Their condition is as crucial as the headset’s functionality.
- Test Every Button: Click every single button: triggers, grip buttons, menu buttons, and face buttons (A, B, X, Y). They should feel responsive, not sticky or loose.
- Check the Thumbsticks: Move the thumbsticks in all directions to ensure smooth movement. When you press them down (L3/R3 click), there should be a solid, tactile click. Crucially, check for “stick drift” by navigating menus; if the cursor moves autonomously without input, the controller has drift, which can render many games unplayable.
- Battery Compartment: Slide open the battery covers. Look for any rust or fuzzy corrosion on the battery terminals, which indicates past battery leakage and potential power issues.
- Tracking Rings: Inspect the plastic rings on the controllers for any cracks or significant scuffs. While cosmetic damage is generally acceptable, a major crack can damage internal tracking LEDs and impair performance.
4. The Headset Body, Straps, and Ports
- Physical Inspection: Examine the headset’s plastic casing for any major cracks or clear signs of being dropped.
- Straps and Padding: Check the condition of the head strap. Verify that the adjustment mechanisms function correctly. Assess the cleanliness of the foam or silicone face-pad; while these parts are often replaceable, a visibly dirty one may indicate general neglect.
- Ports: Examine the USB-C charging port. Plug in the cable; it should fit snugly. A loose, wobbly port is a significant red flag, as it can lead to charging problems. For PC VR headsets, inspect the long tether cable for any kinks, frays, or damage near the connectors.
5. The Functional Test Run
If feasible, play a quick game or run a tutorial to assess performance.
- Tracking: Move your head and controllers around. The movement in VR should be smooth and correspond 1-to-1 with your real-world actions. If the view stutters or your virtual hands float away, there could be a tracking problem.
- Battery Life: Inquire about the battery life from the seller. On a standalone headset like the Quest 2, you should expect at least 90 minutes of gameplay from a full charge.
- Factory Reset: Confirm that the previous owner has performed a factory reset on the device. This unlinks their account and ensures you can set it up as your own without any issues.
The Hygiene Factor: How to Clean Your Used Headset
Given that someone has previously used the headset, a thorough cleaning is essential and not optional.
- Facial Interface: The foam or silicone part that contacts your face should be your top priority. Most interfaces are removable. Wipe silicone interfaces down with antibacterial, non-alcoholic wipes. Foam interfaces can be gently hand-washed with mild soap and water, then left to air dry completely.
- Lenses: Never use liquid cleaners or paper towels on the lenses. Use a dry microfiber cloth, starting from the center and wiping in a gentle circular motion to avoid scratches.
- Headset and Controllers: Use a dry microfiber cloth for the body of the headset and controllers. For stubborn grime, you can use a slightly damp cloth or an electronics-safe wipe, ensuring no moisture penetrates any seams or ports.
Where Are the Best Places to Buy a Used VR Headset?
- Certified Refurbished: Retailers like GameStop or even the manufacturers themselves sometimes sell refurbished units. These are often the safest option, as they have been professionally inspected and typically come with a limited warranty.
- Online Marketplaces (eBay, Facebook Marketplace): These platforms offer the best deals but also present the highest risk. Only purchase from sellers with high ratings and clear, detailed photos. Whenever possible, arrange for a local pickup to perform the full inspection checklist in person before completing the transaction.
Frequently Asked Questions (FAQ)
Is it sanitary to buy a used VR headset?
It can be sanitary, provided you clean it thoroughly. Replaceable parts like the facial interface are widely available for most models if you prefer a fresh start. A deep clean following the steps outlined in this guide should address any hygiene concerns effectively.
Can you get a warranty on a used VR headset?
Typically, no, manufacturer warranties are usually not transferable to a second owner. The primary exception is when purchasing from a certified refurbished program, which often provides its own short-term warranty, usually ranging from 30 to 90 days.
How much should I pay for a used VR headset?
A good general guideline is to aim for 50-70% of the current retail price, depending on the headset’s age, overall condition, and included accessories. Always research the current new price before making an offer to ensure you are getting a fair deal.
What’s the biggest risk with a used Meta Quest headset?
Beyond physical damage like lens scratches, the biggest risk with a used Meta Quest headset is purchasing a device that has been banned by Meta. If the previous owner violated Meta’s terms of service, the headset’s serial number could be blocked from online services, effectively rendering it unusable as a paperweight. This is why testing online functionality is crucial during inspection.
How do I spot sun damage on VR lenses?
Sun damage is not visible on the lenses themselves but on the internal display through the lenses. To check, power the headset on and look for persistent, discolored blotches on the screen that resemble a faint burn mark or stain, typically white or orange.
Final Verdict: Is a Used VR Headset Worth It?
A used VR headset can offer incredible value, providing access to a new world of gaming and immersive experiences without a significant financial outlay. The key to a successful purchase is to approach it with a healthy dose of caution and a critical eye. By diligently following this comprehensive checklist and understanding what to look for, you can confidently distinguish excellent deals from potential future problems. Enjoy your journeys in the metaverse!
Frequently Asked Questions
Is it sanitary to buy a used VR headset?
It can be sanitary, provided you clean it thoroughly. Replaceable parts like the facial interface are widely available for most models if you prefer a fresh start. A deep clean following the steps outlined in this guide should address any hygiene concerns effectively.
Can you get a warranty on a used VR headset?
Typically, no, manufacturer warranties are usually not transferable to a second owner. The primary exception is when purchasing from a certified refurbished program, which often provides its own short-term warranty, usually ranging from 30 to 90 days.
How much should I pay for a used VR headset?
A good general guideline is to aim for 50-70% of the current retail price, depending on the headset's age, overall condition, and included accessories. Always research the current new price before making an offer to ensure you are getting a fair deal.
What's the biggest risk with a used Meta Quest headset?
Beyond physical damage like lens scratches, the biggest risk with a used Meta Quest headset is purchasing a device that has been banned by Meta. If the previous owner violated Meta's terms of service, the headset's serial number could be blocked from online services, effectively rendering it unusable as a paperweight. This is why testing online functionality is crucial during inspection.
How do I spot sun damage on VR lenses?
Sun damage is not visible on the lenses themselves but on the internal display through the lenses. To check, power the headset on and look for persistent, discolored blotches on the screen that resemble a faint burn mark or stain, typically white or orange.
How to Inspect a Used VR Headset Before Buying
Follow these steps to thoroughly inspect a used VR headset and ensure you make a smart, safe purchase, avoiding common pitfalls like damaged lenses or faulty controllers.
Use a flashlight to check for scratches on the lenses; anything in your direct line of sight is a deal-breaker. Power on the headset and look for discolored spots on the display, which indicate irreversible sun damage.
Ensure the headset powers on correctly. Open a bright, solid-colored environment and carefully look for any tiny black, white, or colored dots that don't change, as these are dead pixels that can be distracting.
Click every button on the controllers to ensure they are responsive and not sticky. Move thumbsticks in all directions and check for 'stick drift' by observing if the cursor moves autonomously in menus.
Inspect the headset casing for cracks and verify that head strap adjustments work. Check the USB-C charging port for a snug fit; a loose port is a major red flag for charging issues.
If possible, play a quick game to check tracking smoothness and battery life (expect at least 90 minutes for Quest 2). Confirm the seller has performed a factory reset to unlink their account.
Get our weekly buyer guide
Practical specs, not advice. Unsubscribe anytime.
While the checklist for inspecting used headsets was comprehensive, I still found it a bit tricky to assess lens damage perfectly without specialized tools. My used unit has a tiny scratch I didn’t notice until I got it home, which is a bummer. It’s not a deal-breaker, but something to be aware of.
The tips on checking for sun-damaged displays were super helpful. I almost bought one that looked fine at first glance, but after following the advice, I spotted some subtle discoloration. Glad I took the time to read this before making a purchase. Saved me a headache.
I was really hesitant about buying a used VR headset, especially with concerns about stick drift. This guide gave me the confidence to check everything thoroughly. I ended up getting a Meta Quest 2 for almost half price, and it works perfectly! Definitely worth the savings.
This was exactly what I needed! I’ve been wanting to get into VR but the new prices were just too much. The guide on navigating the second-hand market made me feel much more secure about finding a good deal. I’m now enjoying my ‘new-to-me’ headset without breaking the bank.